


DUO GS MAXX INSTRUCTION HUB
Last updated 02/11/2025
HUB SUMMARY
Here, you'll find everything you need to set up, care for, and make the most of your tent—because camping should be fun, not frustrating. From quick setup guides to tips on keeping your GS Maxx in top shape, we’ve got you covered. So dive in, get prepped, and let’s make sure your camping trips are epic, hassle-free, and (mostly) dry!
Complete User Manual
Detailed, easy-to-follow instructions for setup, teardown, and storage.
Care & Maintenance Tips
Keep your Duo GS Maxx in top condition with our simple care guide.
Video Walkthroughs
Visual tutorials to help you through the process, from setup to packing away.
Safety Guidelines
Stay informed with essential safety tips to ensure your comfort and security while using the Duo GS Maxx.
Frequently Asked Questions (FAQs)
Solutions to common questions and troubleshooting tips.
Instructions History
List of instructions for all versions of our tent.
With these resources at your fingertips, you'll be ready to set up your Duo GS Maxx in no time and enjoy your outdoor adventures with confidence.
COMPLETE USER MANUAL
Below is your setup guide—no jargon, no stress, just simple steps to get your Duo GS Maxx up and ready in no time.
From time to time way may realise an instruction point that was printed in your box is out of place or may not be exactly how we have originally laid it out. For most up to date instructions always refer to the below step by step over the downloadable PDF instructions ;)
Download PDF instructions HERE
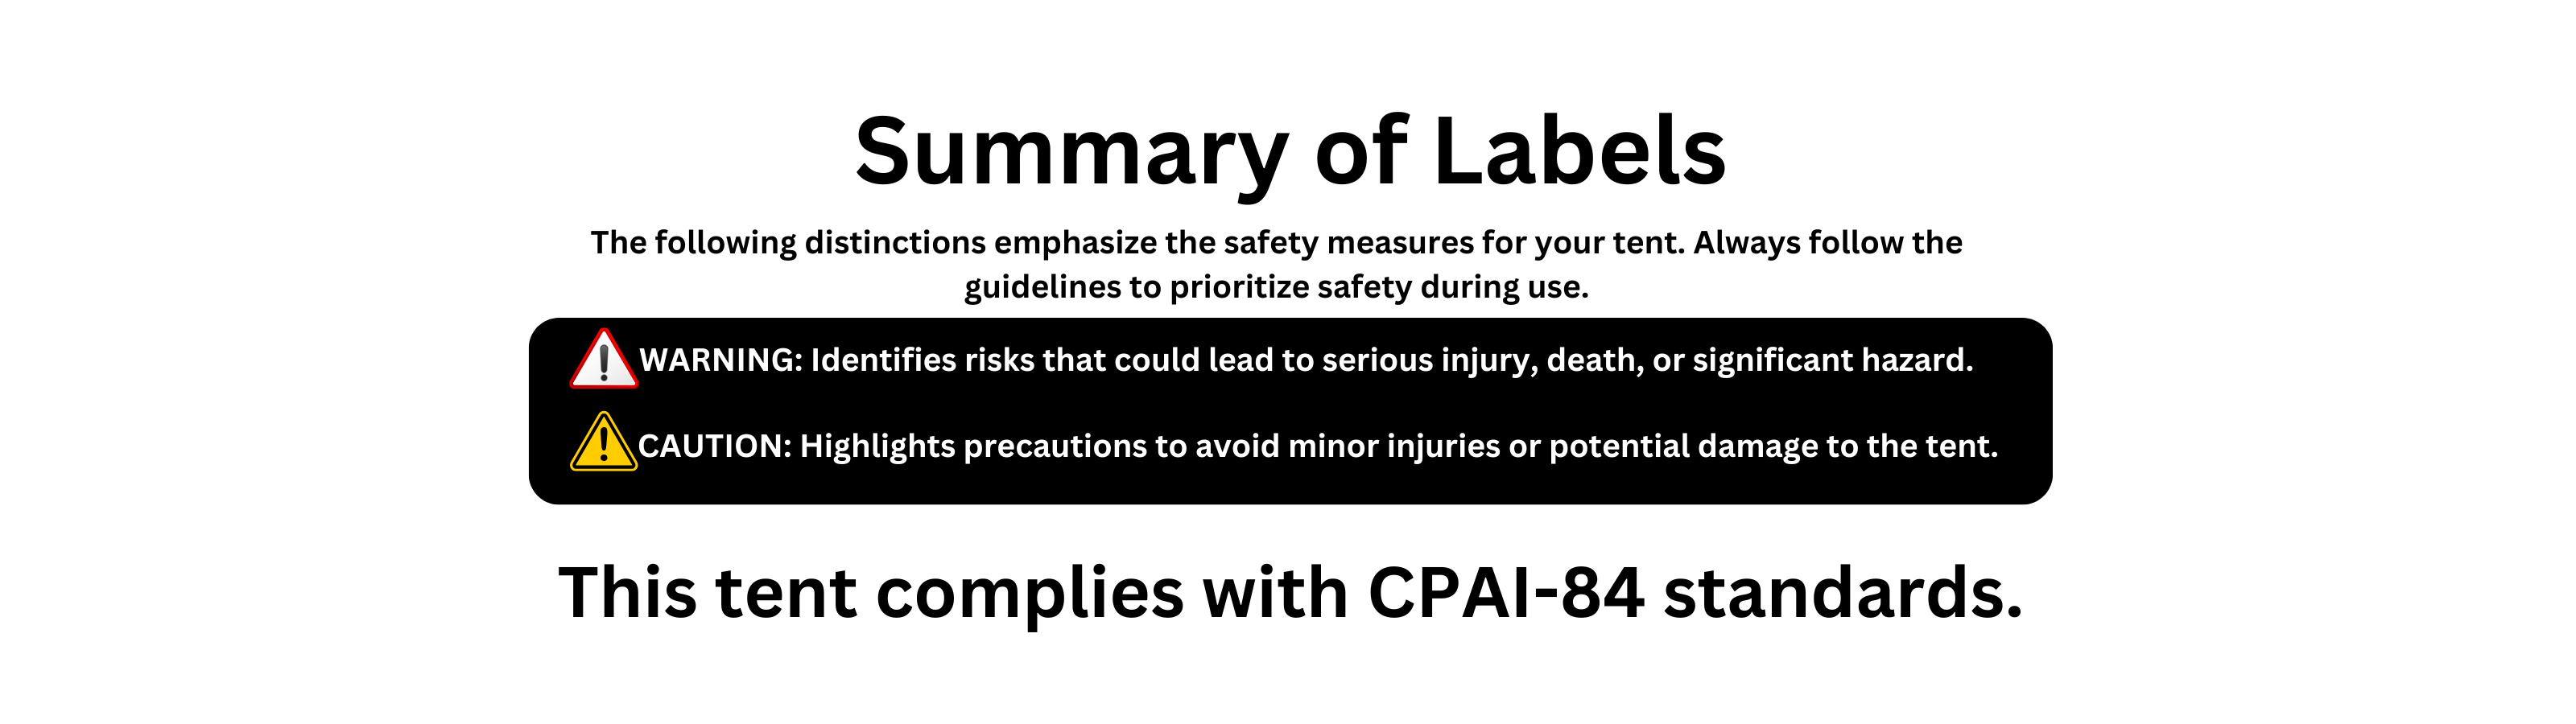
⚠️ WARNING – IMPORTANT SAFETY INFORMATION
- Fire Hazard: The tent is not fireproof. Keep open flames, stoves, and heat sources away.
- Suffocation Risk: Always ensure proper ventilation to prevent carbon monoxide buildup.
- Weather Precautions: Secure the tent properly in strong winds and heavy rain.
- Setup & Stability: Use all provided stakes and guy lines to prevent collapse or instability.
- Children & Pets: Never leave them unattended inside the tent.
- Keep all exits clear and ensure they remain accessible in case of emergency.
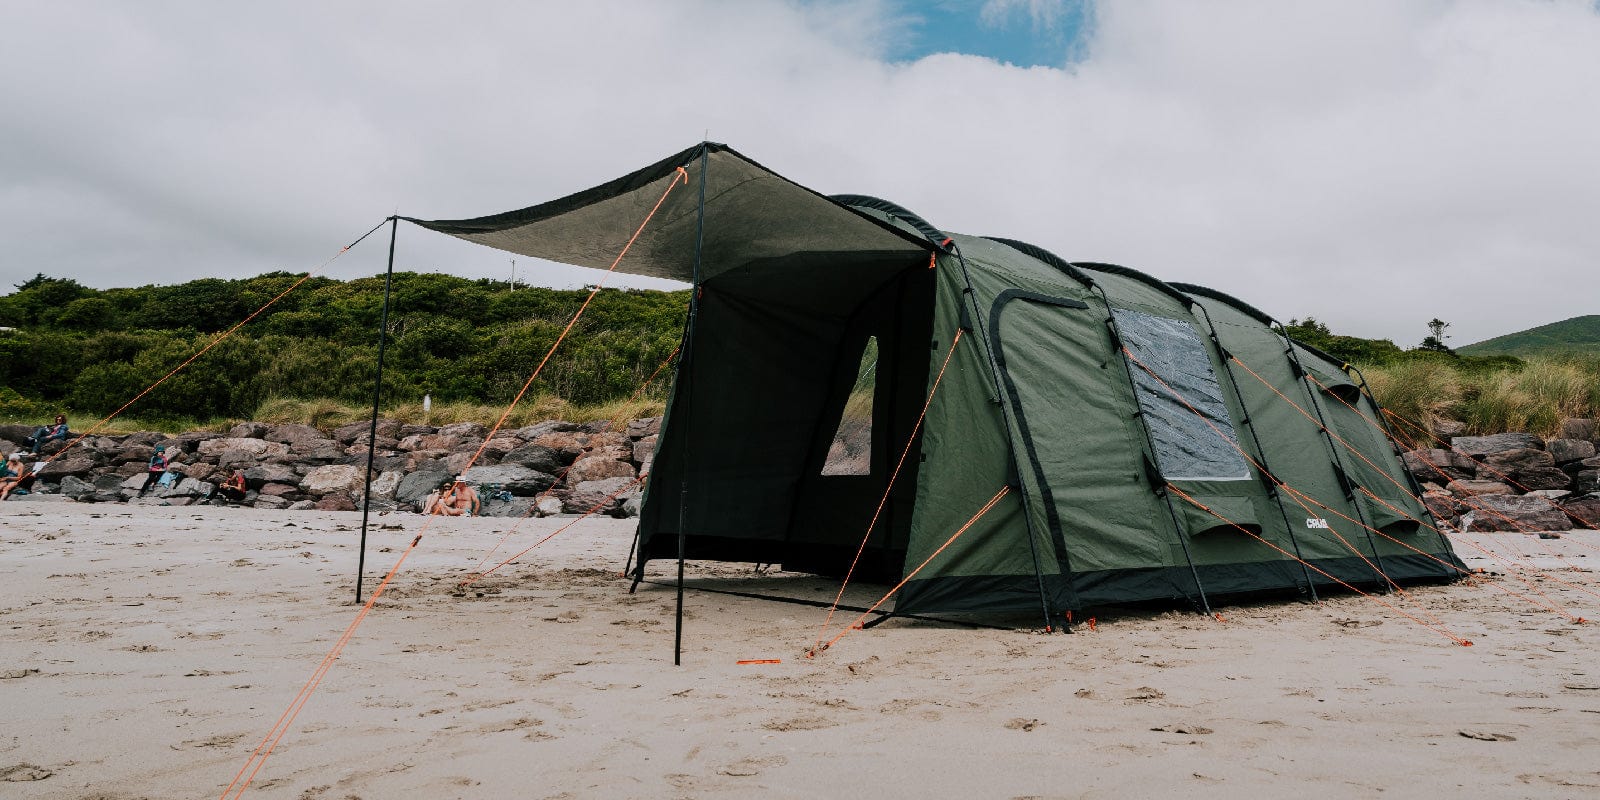
Whats included with the Duo GS Maxx
1 x Outer Tent
1 x Inner Insulation
3 x Aluminum Poles
1 x Built-in Porch Footprint
9 x Guy Lines
17 x Tent Stakes
2 x Carry Bags
1 x Tent Repair Patch Kit
1 x Instruction Manual

1. Unroll the tent body onto the ground. Temporarily, stake down the four corners of the tent.
2. Assemble all three poles and spread out the tent. Note: there are two longer poles and one shorter Pole (Porch Pole).
3. Insert one of the long poles through one pole sleeve located on top of the tent. Repeat this process with the remaining long pole and sleeve. The poles will cross each other at the center.
Caution: Ensure the pole sleeve fabric is evenly distributed along the pole and so that it does not catch at the pole joints. Failure to do so could put abnormal wear on the poles and pole sleeves causing damage.
4. After the poles are in the sleeves, place one end of the pole into the eyelet in the webbing at the bottom corner of the tent body. Flex the poles into an arch and insert the other end of the pole into the corresponding eyelet.

5. Insert the shorter pole (Porch Pole) into the sleeve located on the front of the attached flysheet. Place one end of the pole into the eyelet in the webbing, then flex the pole into an arch and insert the other end of the pole in the corresponding eyelet.
6. Find the plastic hooks on the tent and clip them onto the tent poles. Then properly stake down (4) corners of the tent going through the pole connectors at a 45 degree angle with the provided stakes. The floor of the tent should be taut when stakes properly. Locate all of the guylines on the attached flysheet of the tent and stake out each one at a 45 degree angle. Tighten each guyline as needed by adjusting the slider up on each guyline.
7. Stake out all three lower vents and open up the two upper braced vents. Ensure those vents are secured with the velcro in the open position.
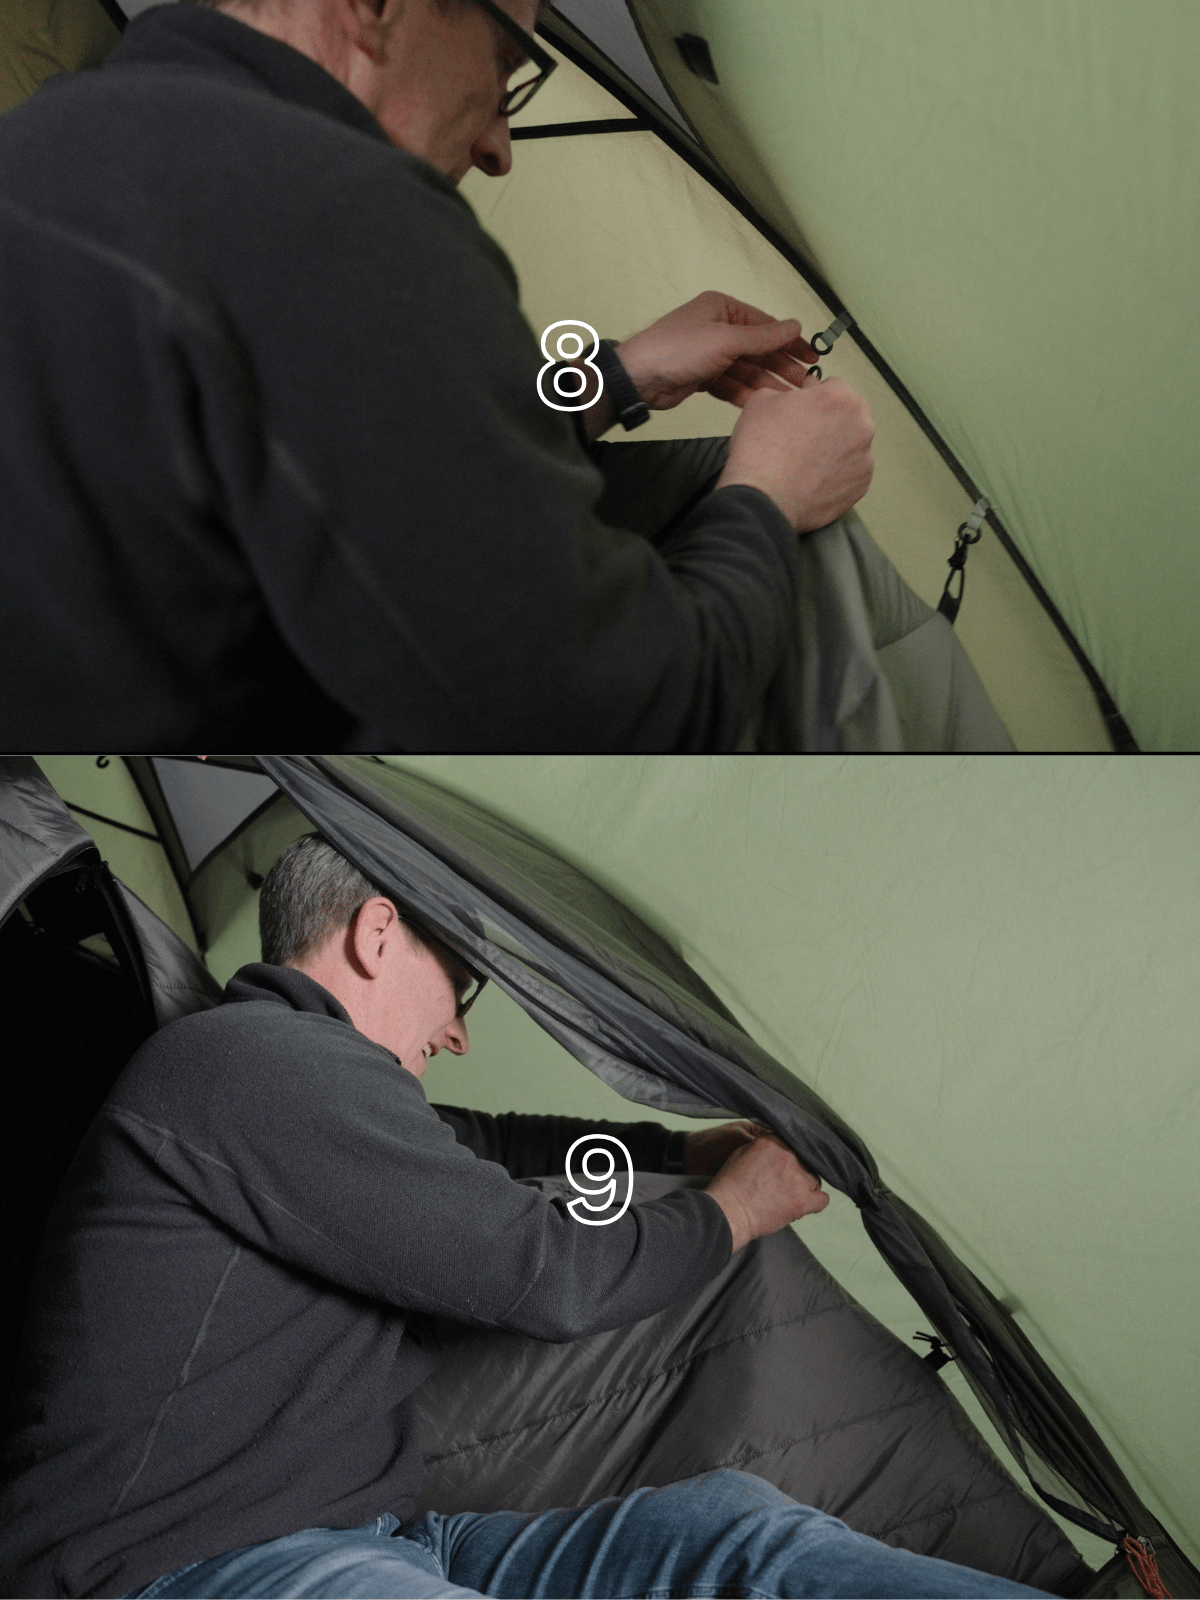
8. Unroll the inner insulation and slide it into the set up GS tent. Place the insulation on the tent floor with the (4) corners matching to the tent (top hook should be up and the door side facing the door).
9. Hook each clip starting with the bottom clips at the back of the tent and work your way to the top for ease. Hook the final clip at the top of the insulation to the roof of the tent.
1. Unroll the tent body onto the ground. Temporarily, stake down the four corners of the tent.
2. Assemble all three poles and spread out the tent. Note: there are two longer poles and one shorter Pole (Porch Pole).
3. Insert one of the long poles through one pole sleeve located on top of the tent. Repeat this process with the remaining long pole and sleeve. The poles will cross each other at the center.
Caution: Ensure the pole sleeve fabric is evenly distributed along the pole and so that it does not catch at the pole joints. Failure to do so could put abnormal wear on the poles and pole sleeves causing damage.
4. After the poles are in the sleeves, place one end of the pole into the eyelet in the webbing at the bottom corner of the tent body. Flex the poles into an arch and insert the other end of the pole into the corresponding eyelet.
5. Insert the shorter pole (Porch Pole) into the sleeve located on the front of the attached flysheet. Place one end of the pole into the eyelet in the webbing, then flex the pole into an arch and insert the other end of the pole in the corresponding eyelet.
6. Find the plastic hooks on the tent and clip them onto the tent poles. Then properly stake down (4) corners of the tent going through the pole connectors at a 45 degree angle with the provided stakes. The floor of the tent should be taut when stakes properly. Locate all of the guylines on the attached flysheet of the tent and stake out each one at a 45 degree angle. Tighten each guyline as needed by adjusting the slider up on each guyline.
7. Stake out all three lower vents and open up the two upper braced vents. Ensure those vents are secured with the velcro in the open position.
8. Unroll the inner insulation and slide it into the set up GS tent. Place the insulation on the tent floor with the (4) corners matching to the tent (top hook should be up and the door side facing the door).
9. Hook each clip starting with the bottom clips at the back of the tent and work your way to the top for ease. Hook the final clip at the top of the insulation to the roof of the tent.
TAKEDOWN
1. Inner Insulation
- Close all windows of the Inner Insulation. If the door of the Inner Insulation is rolled up, unroll the door and close the door partially.
- Leave the horizontal section of the door open so that it allows for air to flow through when rolling up the inner insulation.
- Remove the Inner Insulation by unclipping the clips.
- Roll up the Inner Insulation by laying it flat and folding it in third, lengthways.
- Roll the tent towards the door. Apply the compression straps to the outside of the insulation.
2. Guylines
- Remove the stakes from the ground.
- Take the guylines off the stakes, tie them neatly, and place them back in the pockets provided. (You may need to keep a guyline at the front and back in place to ensure the tent does not move with the weather).
3. Poles
- Unclip the poles.
- Take the pins out of the bottom of the poles.
- Carefully push the poles through the sleeve.
- Fold away the poles neatly into their bag.
4. Rolling Up
- Close all outer vents to ensure that the vent braces do not get damaged when packing away and storing the tent.
- Similar to the inner tent, fold the outer tent in thirds, lengthways.
- Roll the tent towards the door.
- Apply the compressing straps to the outside of the tent.
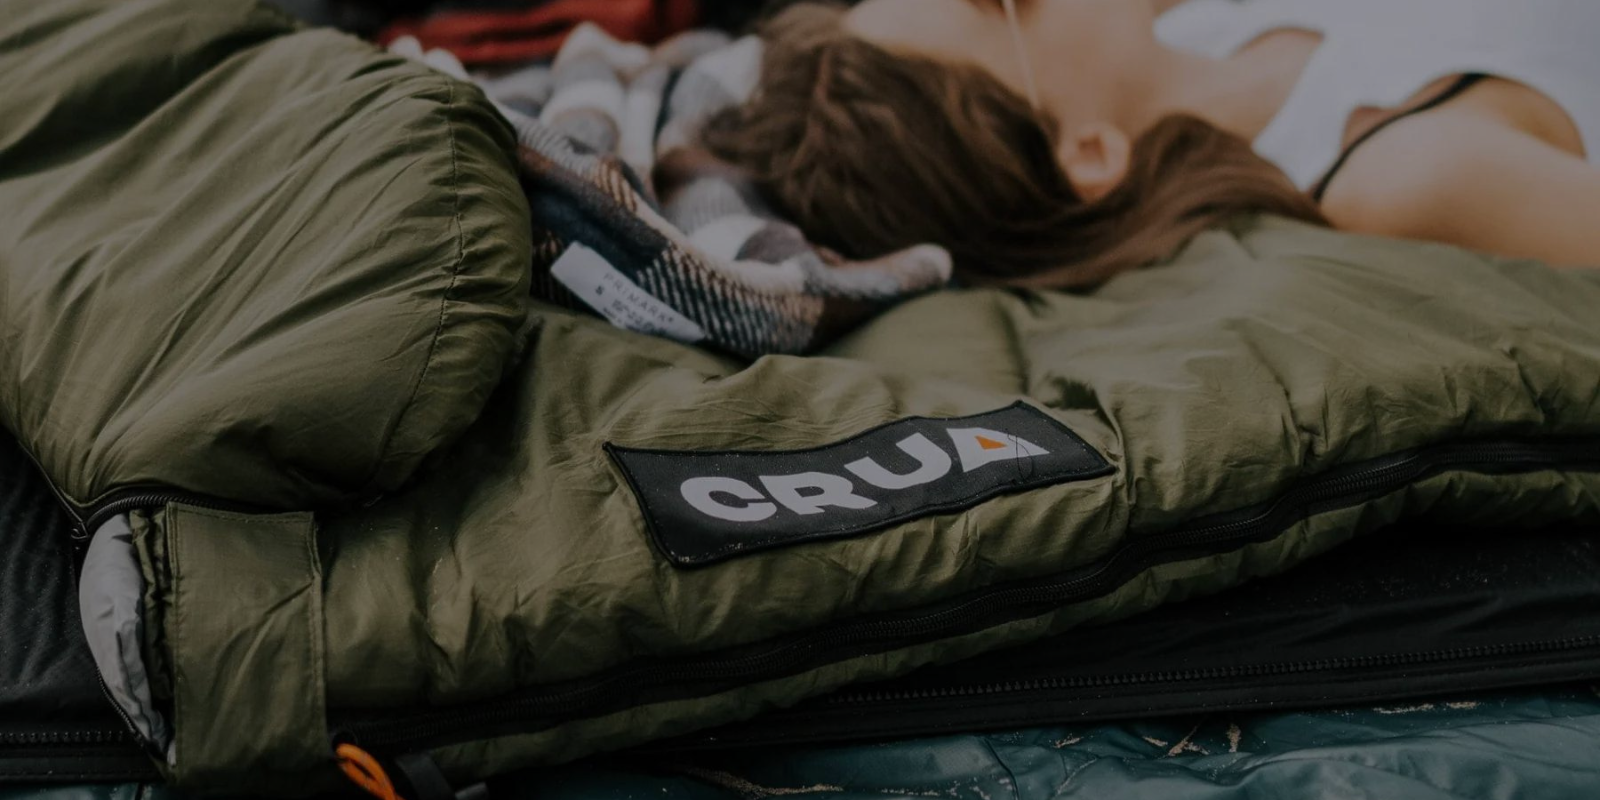
CARE & MAINTENANCE TIPS
🧼 Cleaning Your Tent
Learn how to gently clean your tent without damaging the waterproof coating, plus tips for removing dirt, stains, and mildew.
1. Shake Off Dirt & Debris
Before packing up, shake out loose dirt, sand, and leaves to prevent buildup. For stubborn debris, use a soft brush or damp cloth.
2. Spot Clean When Needed
- Use lukewarm water and mild, non-detergent soap (no bleach or harsh chemicals).
- Gently wipe dirty areas with a sponge or microfiber cloth.
- Avoid scrubbing aggressively, as it can damage the waterproof coating.
3. Rinse & Air Dry
- Rinse thoroughly with clean water to remove any soap residue.
- Always air dry completely before storing to prevent mold and mildew.
- Never use a washing machine, dryer, or power washer—these can damage the fabric and seams.
🌦️ Waterproofing & Weather Protection
Find out how to test, maintain, and reapply waterproofing to keep your tent dry in all conditions.
1. Regularly Check Waterproofing
- Your PFAS-free polyester tent has a PU (polyurethane) coating for water resistance.
- Over time, water repellency may fade, so test by spraying water—if it absorbs instead of beading up, it’s time to refresh it.
2. Reapply Waterproofing When Needed
- Use a PFAS-free DWR (Durable Water Repellent) spray.
- Apply to a clean, dry tent and let it air dry fully.
- Focus on high-wear areas like the rainfly, seams, and floor.
3. Seam Sealing
- Seams come factory-sealed, but over time they may need touch-ups.
- Apply a PU-compatible seam sealer on any worn areas.
- Let it cure for 24 hours before packing or using the tent.
⛺ Storing Your Tent Properly
Discover the best way to pack, store, and protect your tent from mold, mildew, and fabric damage.
1. Always Store It Dry
- A damp tent = mold and mildew—make sure it’s 100% dry before packing.
- If you must pack it damp, air it out as soon as possible.
2. Store Loosely, Not Compressed
- Long-term compression can damage the waterproof coating and fabric integrity.
- Store in a large breathable bag (like a mesh or cotton sack) instead of the tight stuff sack.
3. Keep It in a Cool, Dry Place
- Avoid humid areas like basements.
- Don’t store in direct sunlight or extreme heat, which can weaken fabric and coatings.
🚨 Avoiding Common Tent Care Mistakes
❌ Never machine wash or tumble dry your tent.
❌ Don’t use household cleaners, bleach, or fabric softener.
❌ Avoid long-term sun exposure—UV rays weaken polyester over time.
❌ Don’t store it wet or tightly compressed.
By following these simple care tips, your 190T Polyester PFAS-Free tent will stay waterproof, strong, and adventure-ready for years to come! 🌿🏕️
VIDEO WALKTHROUGHS
Coming Soon
SAFETY GUIDELINES
We all want to have fun on our camping adventures, and no one wants anything to go wrong. It’s always best to be prepared to ensure a safe and pleasant trip. I know safety isn’t the most exciting topic, but when something goes wrong, hindsight is an awful experience—so take a quick read and stay ahead of any potential risks!
A little preparation goes a long way—stay safe and enjoy your adventure!


FREQUENTLY ASKED QUESTIONS
Why does the inner bedroom have vents if its supposed to insulate?
The vents in the inner tent are designed to balance insulation and breathability. While the Duo GS Maxx provides thermal regulation, proper airflow is essential to prevent condensation and ensure a comfortable sleeping environment. The vents allow controlled ventilation without compromising the insulation.
Does the tent block sound?
The Duo GS Maxx slightly reduces decibel levels, helping dampen outside noise. However, it is not designed for full soundproofing. To completely block sound, you would need specialized materials with mass-loaded barriers, which are not practical for a camping tent.
What causes condensation in my tent, and how do I resolve it?
Condensation occurs when warm air inside the tent meets the cooler fabric, leading to moisture buildup. This can be caused by:
- Breathing, cooking, or wet gear inside the tent
- Lack of airflow trapping humidity
- Cool temperatures outside vs. warmth inside
🔹 How to Reduce Condensation:
- Keep the vents open for better airflow.
- Avoid bringing wet gear inside.
- Use a groundsheet that matches the tent size to minimize moisture from the ground.
- If possible, pitch the tent in a well-ventilated area.
My tent fabric has faded and turned paper-like – what happened?
This is due to prolonged direct UV exposure. While the Duo GS Maxx fabric is durable, extended exposure to the sun’s UV rays breaks down the material, causing it to fade and become brittle. To extend your tent’s lifespan:
- Store it in a cool, dry place when not in use.
- Use a UV-protective spray if you expect long-term sun exposure.
- Avoid leaving the tent pitched for extended periods.
Can I leave my tent up permanently?
No, the Duo GS Maxx is a leisure tent, not designed for permanent setup. Prolonged exposure to the elements—sun, rain, wind, and humidity—will degrade the fabric, seams, and waterproofing over time. If you need a tent for long-term outdoor use, consider a more robust, heavy-duty structure built for extended exposure.
INSTRUCTIONS HISTORY
here you will find instructions for the Duo as they have changed over the years.